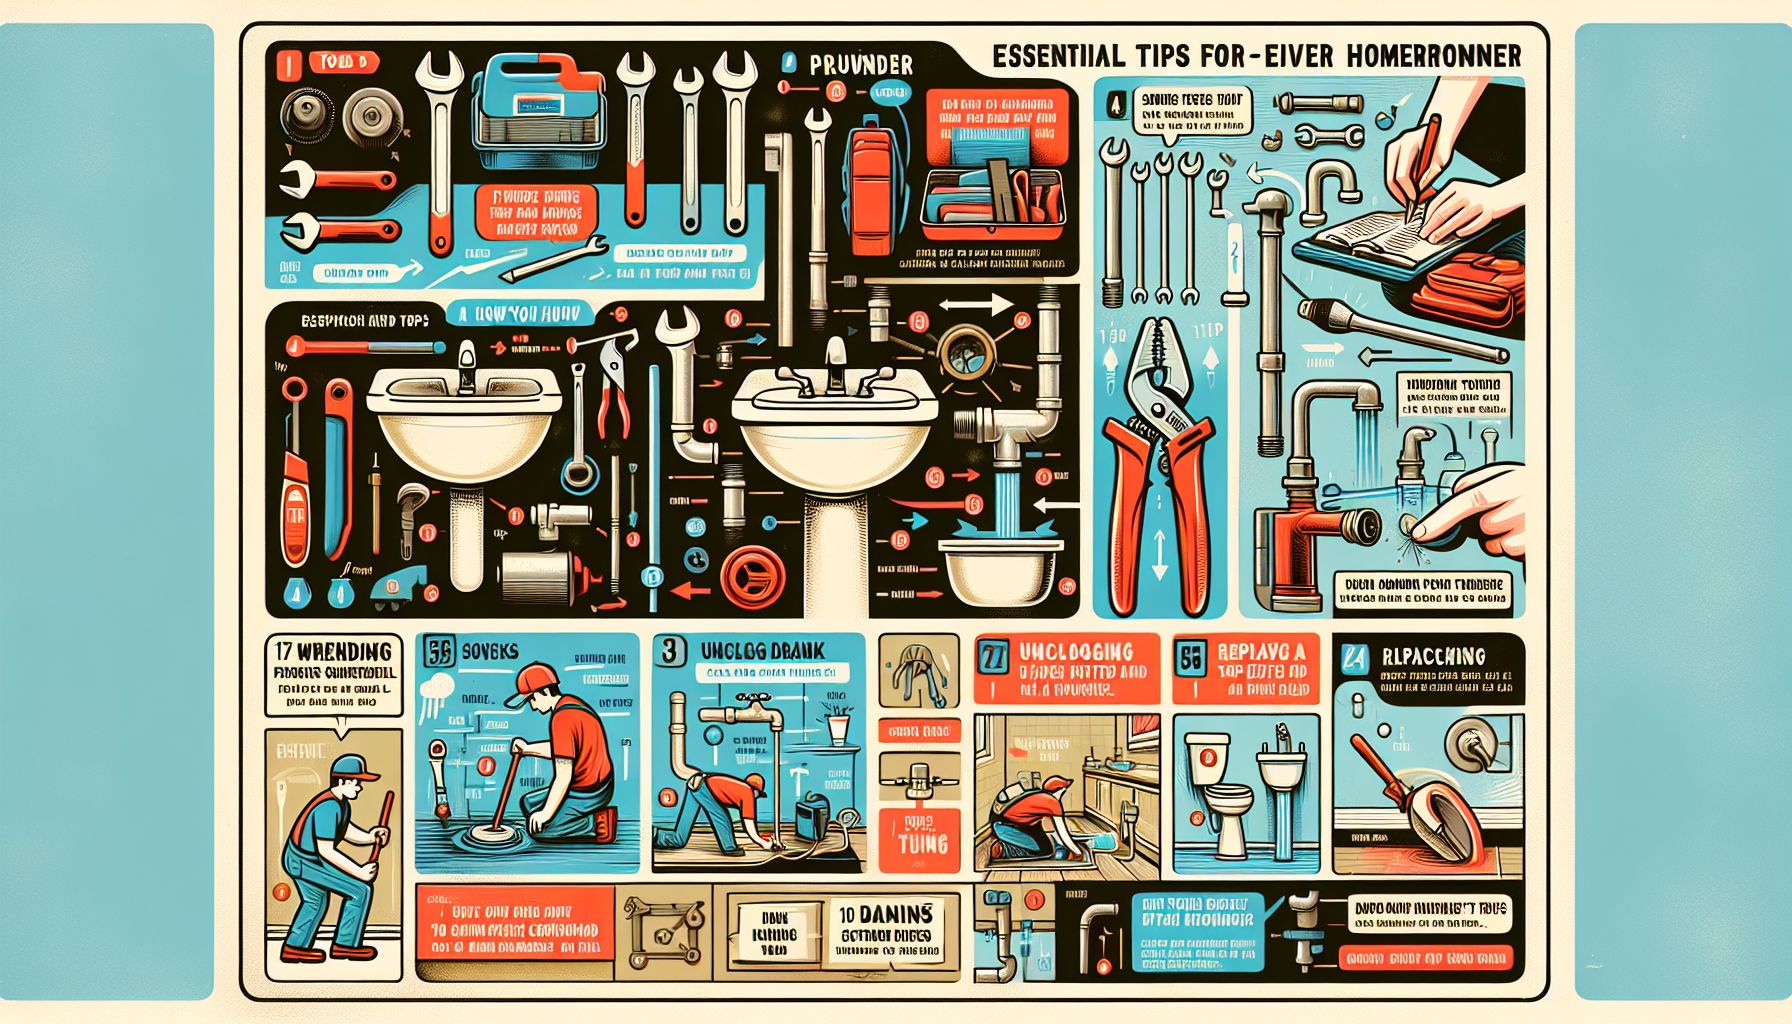
Are you a homeowner looking to tackle plumbing issues on your own? DIY plumbing can be a cost-effective and rewarding way to maintain your home, but it can also be daunting if you’re unfamiliar with the basics. In this blog post, we will provide you with essential tips and insights to help you confidently navigate your way through common plumbing tasks. From unclogging drains to fixing leaky faucets, we’ve got you covered. So grab your toolbox and let’s dive in!
Tools of the Trade
Before we dive into specific plumbing tasks, it’s important to have the right tools. Some essential items you’ll need in your plumbing toolkit include:
- Plungers: A must-have for tackling clogged toilets and drains.
- Pipe Wrench: Useful for loosening or tightening pipes and fittings.
- Adjustable Wrench: Perfect for tasks that require a wide range of sizes.
- Pipe Cutter: Essential for cutting pipes accurately and cleanly.
- Teflon Tape: Used to create watertight seals on threaded connections.
- Plumber’s Putty: Ideal for creating watertight seals around drains and faucets.
- Auger or Snake: A flexible tool used to clear stubborn clogs.
Fixing a Leaky Faucet
A leaky faucet can waste gallons of water and drive up your water bill. Thankfully, fixing it is often a simple DIY task. Here’s how to do it:
- Shut off the water supply: Locate the shut-off valve under the sink and turn it off.
- Disassemble the faucet: Remove the decorative cap, unscrew the handle, and take out the cartridge or valve stem.
- Replace worn-out parts: Inspect the cartridge or valve stem for damage and replace it if necessary. Don’t forget to apply plumber’s grease before reassembling.
- Reassemble the faucet: Put everything back together, turn on the water supply, and check for leaks.
Unclogging Drains
Clogged drains are a common issue in any household. Here’s an easy DIY method to clear them:
- Use a plunger: Place the plunger over the drain and create a tight seal. Firmly push and pull the plunger to create suction and loosen the clog. Repeat several times if needed.
- Try a homemade solution: Pour a mixture of baking soda and vinegar down the drain, followed by hot water. Let it sit for a few minutes, then flush with more hot water. This can dissolve grease and remove minor blockages.
- Use an auger or snake: For stubborn clogs, insert the auger or snake into the drain and turn the handle clockwise, breaking up the clog. Pull out the debris and repeat if necessary.
Preventing Future Problems
While fixing immediate issues is crucial, taking preventive measures can save you from future plumbing headaches. Here are a few tips to keep in mind:
- Regular maintenance: Inspect plumbing pipes, connections, and fixtures regularly for signs of leaks or corrosion. Address issues promptly to prevent major problems.
- Avoid overusing chemical drain cleaners: While they may provide short-term solutions, these products can corrode pipes over time. Opt for natural alternatives whenever possible.
- Be mindful of what goes down the drain: Avoid pouring greasy substances, coffee grounds, or other debris down the drain. Use drain covers to catch food particles and hair.
Conclusion: Empower Yourself as a DIY Plumber
With the right tools, knowledge, and a can-do attitude, tackling common plumbing issues can be a rewarding experience. Remember, safety should always be your priority—when in doubt, consult a professional plumber. By following our DIY plumbing tips, you’ll not only save money but also gain confidence in maintaining your home’s plumbing system. So roll up your sleeves, embrace the DIY spirit, and embark on a plumbing journey that will make you the master of your home’s pipes!

